
Terrain Generation with Perlin Noise
Mar 18, 2017 · 4 minute readThe other night, I was feeling up for a coding challenge. I wanted to play around with using noise to procedurally generate some terrains using Three.js. After a short research session, I decided I would produce the height values for my terrain using a Perlin noise function. Once I had these values, I could then easily update the geometry in my terrain. If you’re interested in doing this as well, I’ll walk you through some of the code for my solution below. The full source for this demo is available on GitHub, and you can also check out the live demo
Simple Plane
The first thing we need to do is add a plane to our scene. To do this, we first create a PlaneBufferGeometry, passing values representing its width and height as well as how many segments should be used in each dimension. Once we have our geometry, we use it to to construct a Mesh, and provide a simple MeshLambertMaterial for rendering. I won’t get into the basics of setting up a scene in Three.js in this post, but if you want to see how that’s done, be sure to check out the source code on GitHub.
var geometry = new THREE.PlaneBufferGeometry( 2000, 2000, 256, 256 );
var material = new THREE.MeshLambertMaterial({color: 0x3c3951});
var terrain = new THREE.Mesh( geometry, material );
terrain.rotation.x = -Math.PI / 2;
scene.add( terrain );

Random Noise
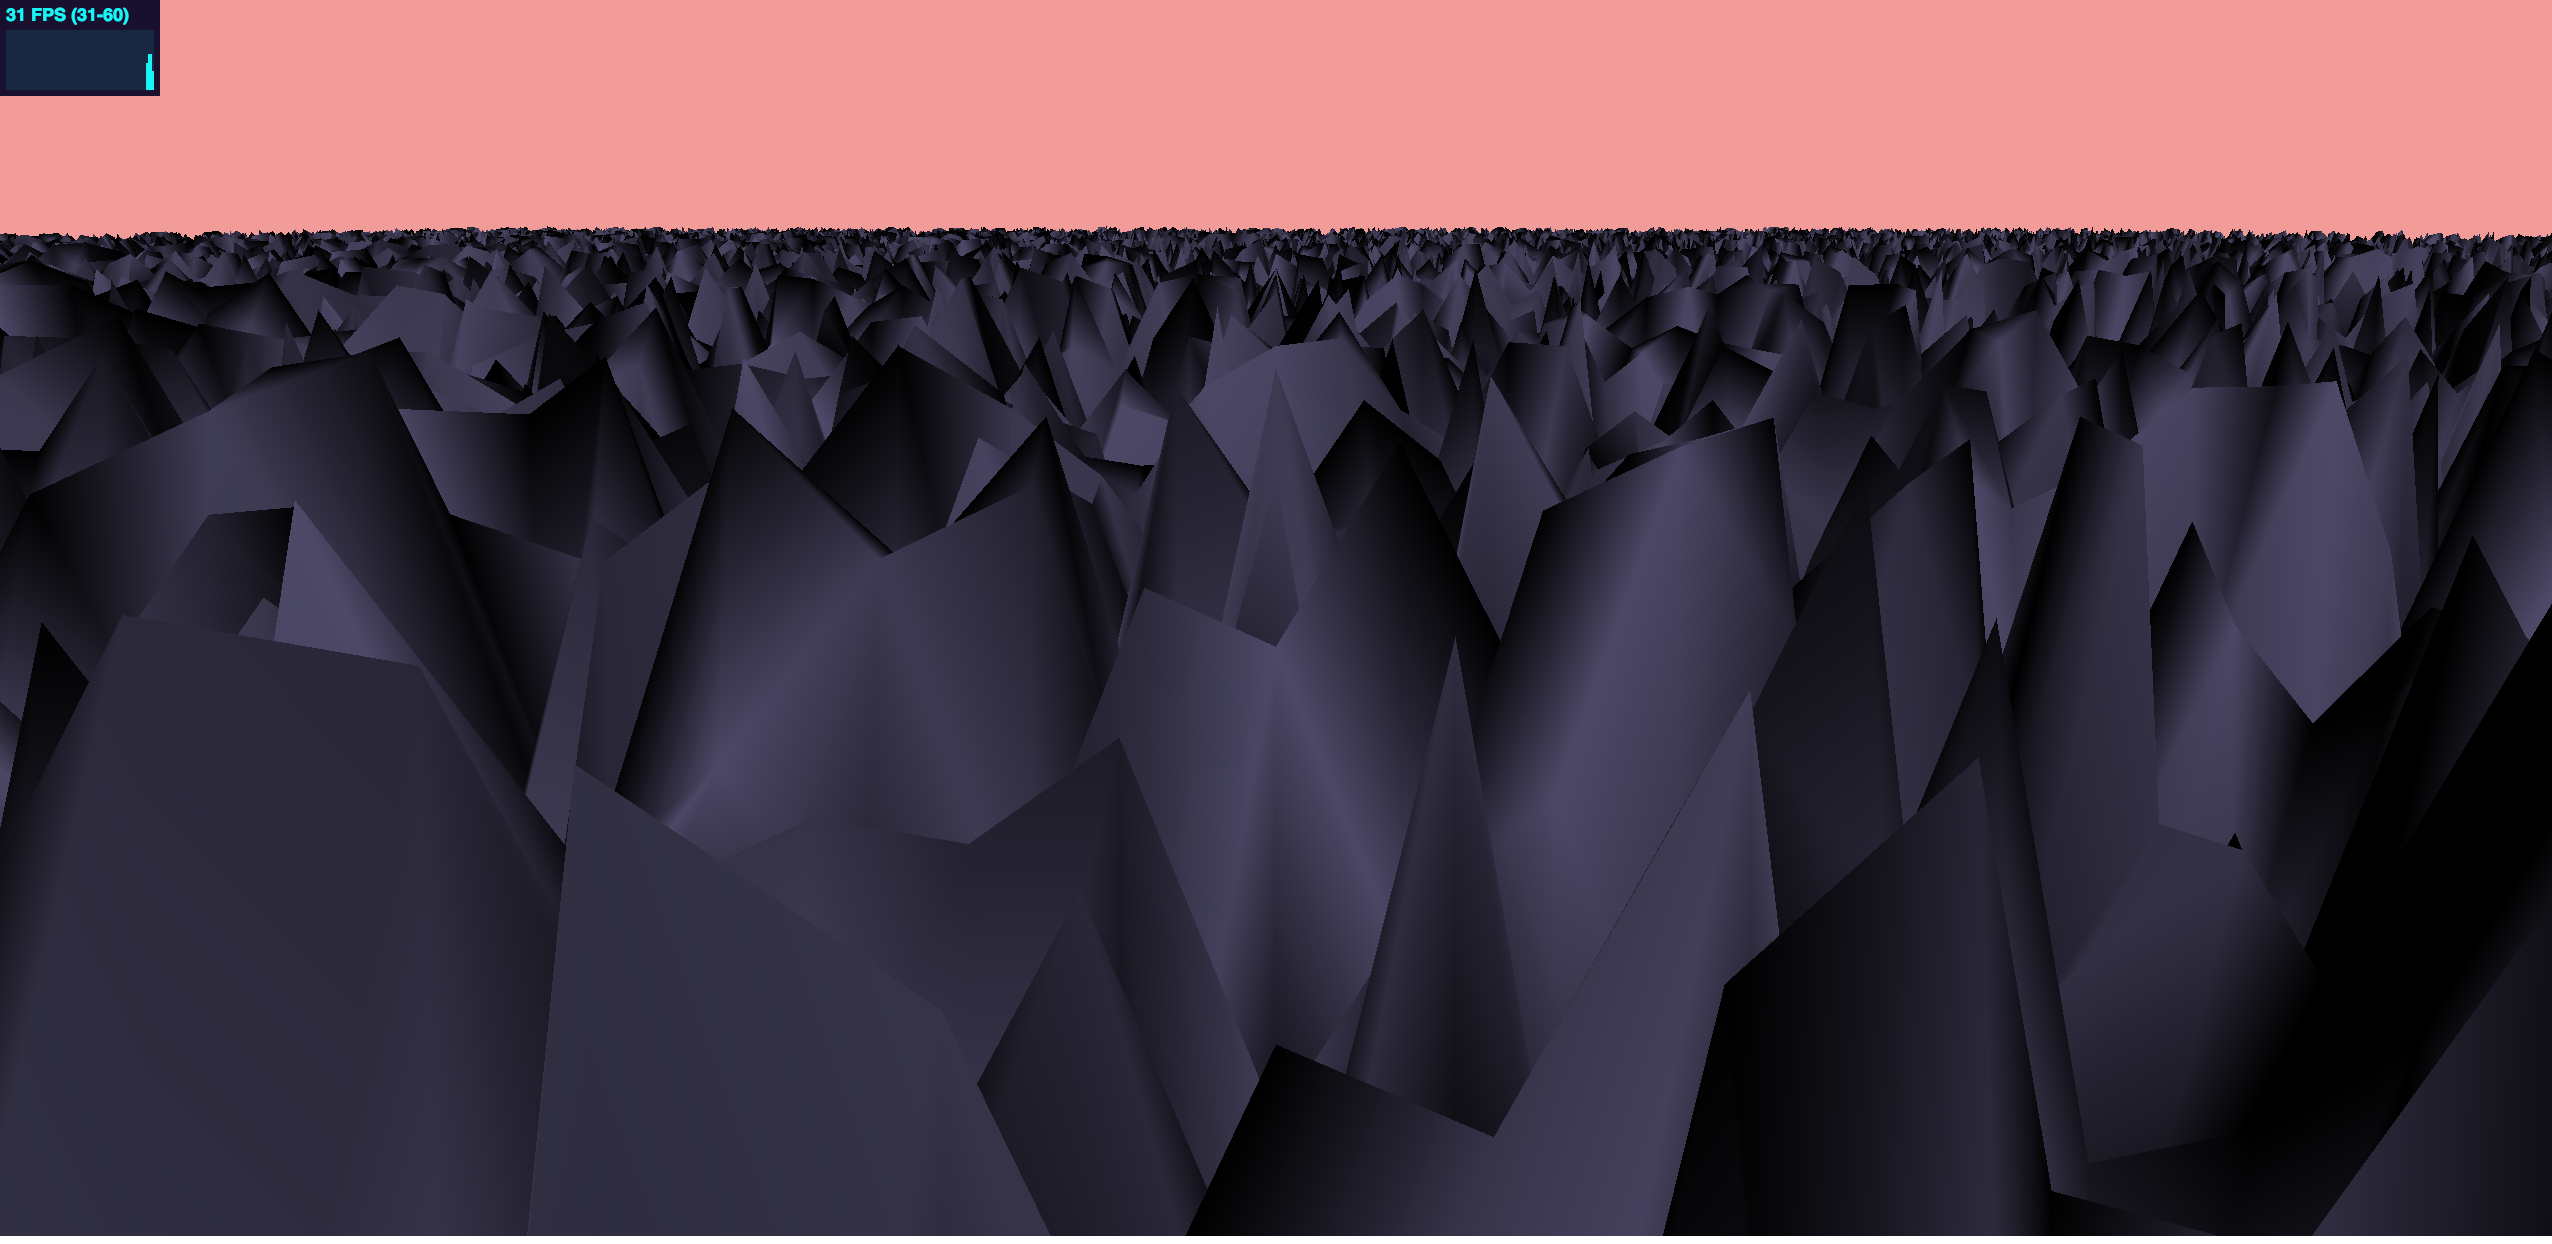
Now that we have our plane added to the scene, lets make sure we can affect the geometry. The following code will loop through each vertex in our geometry and assign a random number between 0 and 60 to the vertice’s z-component. In our demonstration, the z-values correspond to height values for our vertices, so the code below will result in an extremely jagged terrain. Once we have updated our vertex positions, we indicate that they have been updated, and recompute the vertex normals for our lighting calculations.
var peak = 60;
var vertices = terrain.geometry.attributes.position.array;
for (var i = 0; i <= vertices.length; i += 3) {
    vertices[i+2] = peak * Math.random();
}
terrain.geometry.attributes.position.needsUpdate = true;
terrain.geometry.computeVertexNormals();
Perlin Noise
As you can see, the results above aren’t very appealing. It turns out, terrains in nature aren’t quite as random as the one we’ve created. A good random number generator will produce a sequence of numbers that are unrelated, and transitions between each value won’t necessarily follow any set of constraints. Terrains however, are inherently structured. Hills, for instance, are fairly smooth in nature, and though there are exceptions, the size of hills in a given area tend to be of a similar size. This is where Perlin noise can be used to great effect. With Perlin noise, we can randomize the height values in our terrain while maintaining a more smooth transition between neighboring vertices. I’d definitely encourage you to read up on the algorithm itself, but for now, here is a link to an implementation of Perlin noise in JavaScript that I adapted for my own project.
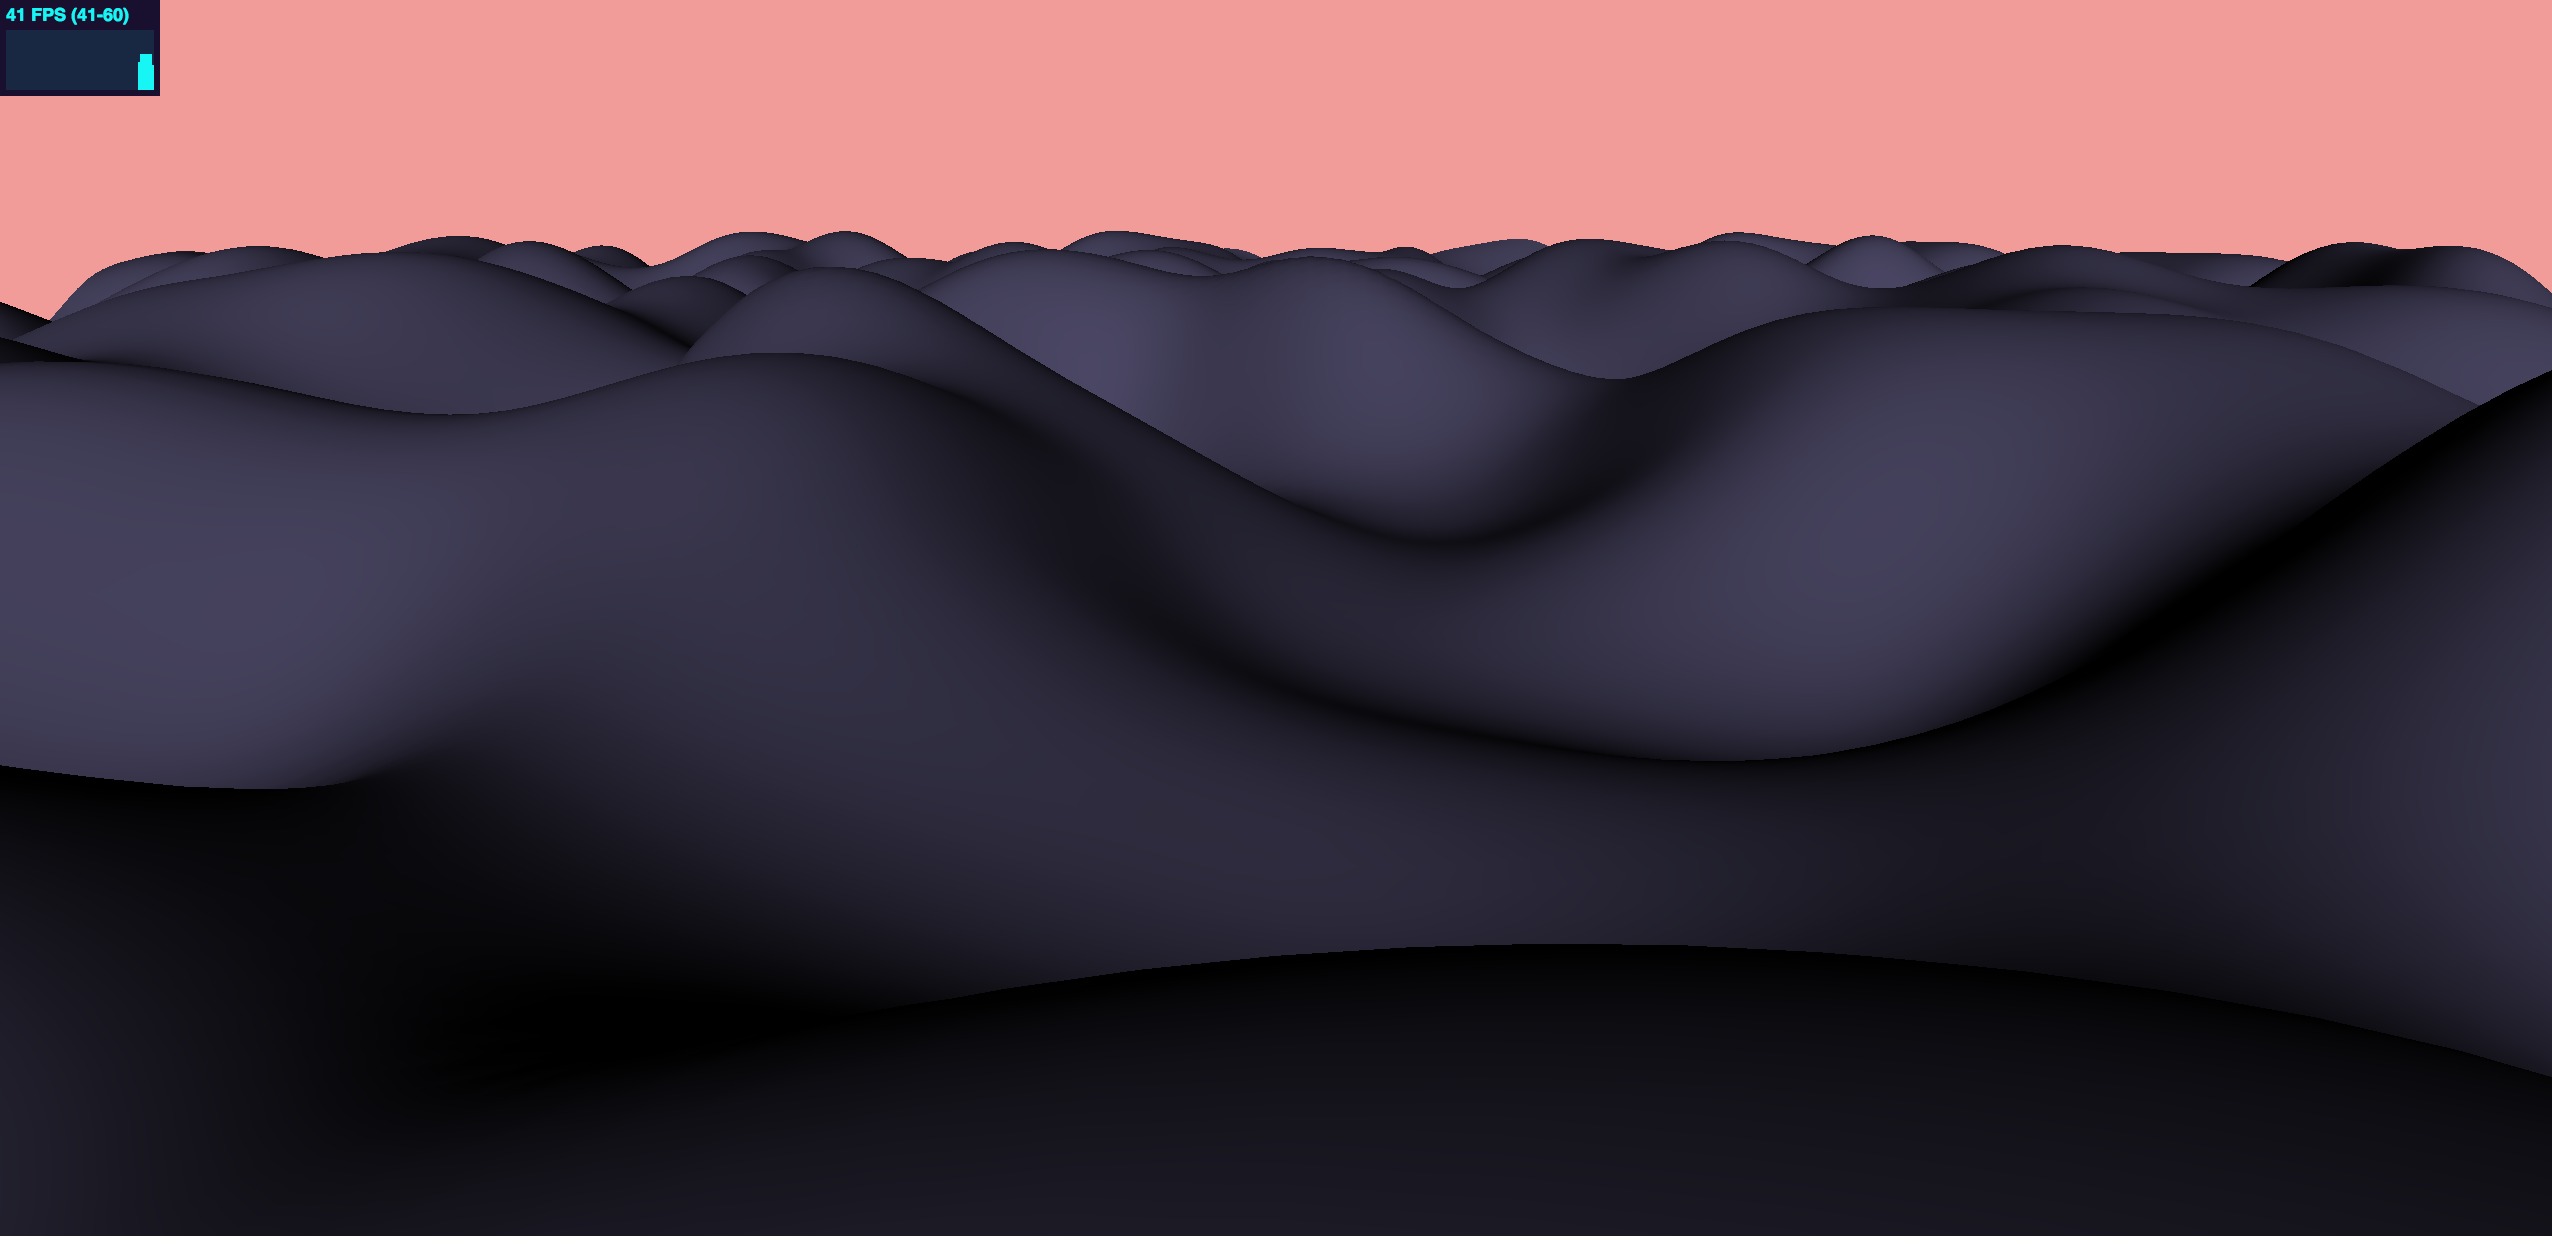
The code below loops through every vertex in our terrain’s mesh, and once again updates the z-component with a new value. This time, instead of using a random number generator, we calculate the new value of the z-component for each vertex by passing the x and y components of the vertex as parameters to a 2D perlin noise function. As we pass these values in, we divide them by a smoothing factor in order to gain some control over the shape of our landscap. The larger the number we use, the more smooth our terrain will be. The result of this noise function is a number between -1 and 1, so we multiply this value by our maximum desired peak height to get our final value for each vertex’s z-component.
var peak = 60;
var smoothing = 300;
var vertices = terrain.geometry.attributes.position.array;
for (var i = 0; i <= vertices.length; i += 3) {
    vertices[i+2] = peak * perlin.noise(
        vertices[i]/smoothing,
        vertices[i+1])/smoothing
    );
}
terrain.geometry.attributes.position.needsUpdate = true;
terrain.geometry.computeVertexNormals();
Conclusion and Next Steps
Much better! The output above is far more convincing than in the random noise example. The final result is a terrain with a fairly uniform distribution of similarly-sized hills, which we can easily tweak using our smoothing factor and maximum allowed peak height. This is a great starting point, but there is a lot more to your usual terrain than just simple, rolling hills. In the future, I would love to find some time to update our terrain with more interesting topographical features such as mountains, rivers, and ravines. For now though, we’ve produced some good results.
I hope this demonstration helped explain how you can use noise functions to produce height values for a procedurally generated terrain. Don’t forget to check out the full source code for this demo on GitHub. If you have any questions, I’d love to hear from you, and will do my best to answer them. Thanks for following along!
Links:
Live Demo
GitHub Repository